Phytec’s phyBOARD-Pollux Imaging Kit
This guide will walk you through setting up your phyBOARD-Pollux together with a phyCAM product and Nabto. The end result will be a Nabto-enabled phyBOARD with a tunnelled RTSP feed from the phyCAM.
For further information about tunnelling, see the intro to TCP tunnelling guide
You will need a couple of things.
- A phyBOARD-Pollux board, this is of course the star of the show for this guide.
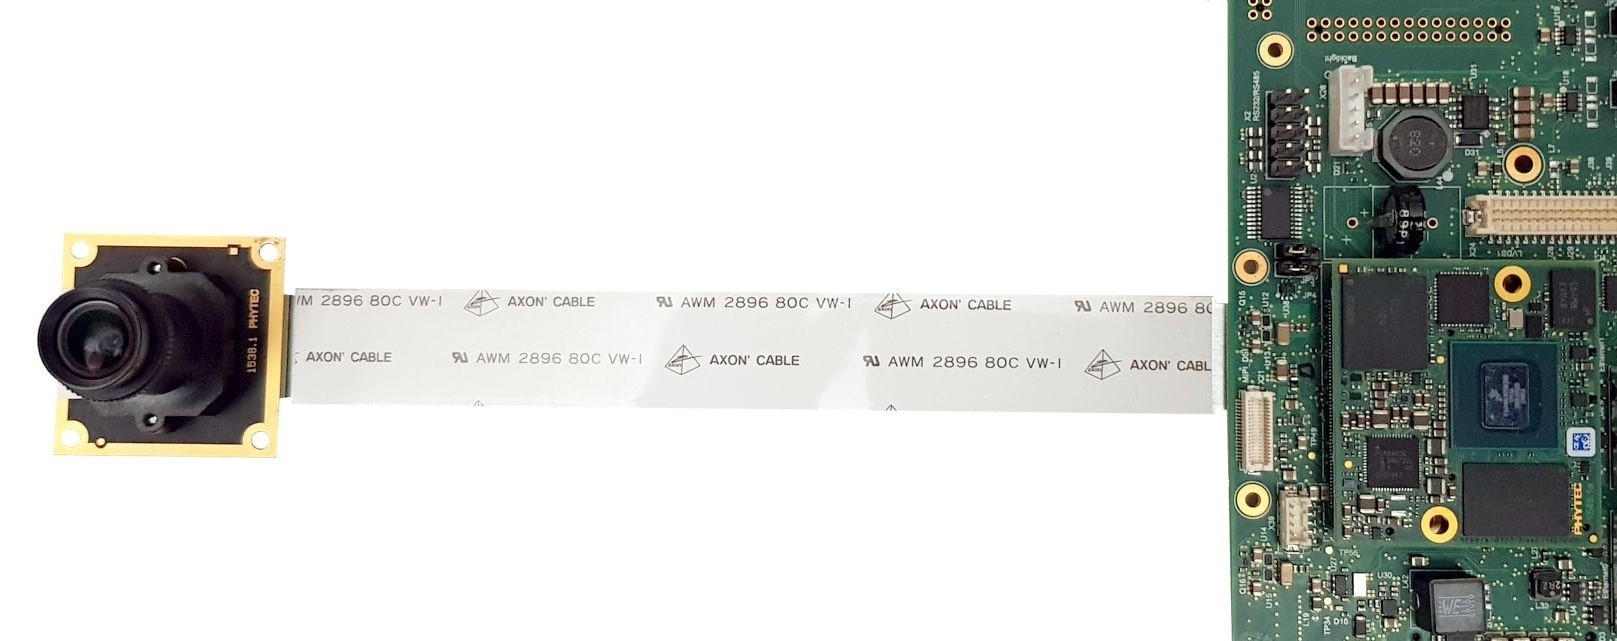
- A camera module such as the phyCAM-M.
- A USB OTG adapter to connect your board to your computer for a serial connection.
- An ethernet cable to connect your board to the internet.
Remember to check your board and camera’s article numbers to cross-reference with Phytec’s documentation. In our case we have a board with article name PB-03123-001.A1 and a camera with article name VM-016-COL-M-M12.A1.
Prerequisites
You will need a program that can communicate with your Phytec board over a serial connection. Some common options are gtkterm, minicom and microcom. We will be using microcom in this guide which can be installed on debian-based distros with
sudo apt install microcom
The baudrate for the board is 115200.
Downloading and flashing an image to the SD card
Go to phytec’s product page to download an appropriate Board Support Package (BSP), listed under Linux BSP-Releases using Yocto. This guide will use the Standard NXP BSP release version PD22.1.0.
On this site you can check out the “Supported machines” section. Our board has article number PB-03123-001.A1 so our corresponding machine name is phyboard-pollux-imx8mp-3.In the “Binaries” section you can find a link to prebuilt images which leads to:
https://download.phytec.de/Software/Linux/BSP-Yocto-i.MX8MP/BSP-Yocto-NXP-i.MX8MP-PD22.1.0/images/
The prebuilt image we will use is ampliphy-vendor-xwayland which has gstreamer and v4l2 already included. ampliphy-vendor is the stripped image that does not include any extra software, however using it would require us to build gstreamer from scratch, which is possible but out of scope for the guide.
The full path to the image we use is
ampliphy-vendor-xwayland/phyboard-pollux-imx8mp3/phytec-vision-image-phyboard-pollux-imx8mp-3.sdcard
Connect your sd card to your computer and find out where its corresponding device file is located, usually it will be /dev/mmcblk0. Flashing to the sd card can be done with dd as:
sudo dd if=phytec-vision-image-phyboard-pollux-imx8mp-3.sdcard of=/dev/mmcblk0 conv=fsync status=progress
When flashing is complete reinsert the SD card into the board and power it on.
Connecting to the board
Using a USB connection between the board and the computer, and using microcom we can connect to the board with
microcom -p /dev/ttyUSB0 -s 115200
By default there is only the root user with no password.
Enabling the camera using Linux Device Tree
Linux device tree is a data structure used to describe hardware components. Phytec provides some overlays that we can apply to the device tree to enable certain hardware such as a phytec camera. These overlays have a .dtbo extension and can be found in /boot
The file /boot/bootenv.txt describes which overlays should be applied to the device tree. We can refer to this camera guide, which also describes how to connect the camera to the board. We’ll use the CSI1 port for this, which is also called X11 in some parts of the documentation.
NOTICE: We’re using PD22.1.0 which has a slightly different approach to modifying the device tree compared to older versions.
In section 6 we can see which overlay files should be applied to enable the camera on CSI1. Note the article name of your camera, in our case it is VM-016-COL-M-M12.A1 and it is connected to X11. This means we have to add the following overlays.
imx8mp-isi-csi1.dtbo imx8mp-vm016-csi1.dtbo
We use the following command to output the correct contents to /boot/bootenv.txt
echo "overlays=imx8mp-phyboard-pollux-peb-av-010.dtbo imx8mp-isi-csi1.dtbo imx8mp-vm016-csi1.dtbo" > /boot/bootenv.txt
Reboot the board and the camera should now be available for use. You can use ls /dev to check that there is a /dev/video* file (/dev/video0 in our case).
Installing required packages on the board
For the current Nabto setup we need three things on the board. The first is of course Nabto’s TCP tunnel application, the second is gst-rtsp-server which provides the rtspclientsink command to gstreamer’s pipelines, the third is rtsp-simple-server which we use to provide an RTSP endpoint.
For the PD22.1.0 image we downloaded, gstreamer 1.18.5 was included, so that is the version we need for gst-rtsp-server.
Now we will download the phytec-nabto.tar.gz tarball. This archive includes Nabto binaries such as tcp_tunnel_device and thermostat_device, and it also includes gst-rtsp-server version 1.18.5.
wget https://github.com/nabto/phytec-documentation/raw/master/phytec-nabto.tar.gz
Now, on the board, extract the tarball contents into /usr
tar xvf phytec-nabto.tar.gz -C /usr
Reboot the board again and ensure that the installation succeeded by running the following two commands and inspecting the output.
tcp_tunnel_device --version
gst-inspect-1.0 --no-colors rtspclientsink
Finally we need to install rtsp-simple-server, thankfully they have ARM binaries on their github releases. Pick the arm64v8 binary and download it onto the board using wget, then unpack the contents.
wget https://github.com/aler9/rtsp-simple-server/releases/download/v0.20.0/rtsp-simple-server_v0.20.0_linux_arm64v8.tar.gz
tar xvf rtsp-simple-server_v0.20.0_linux_arm64v8.tar.gz
Starting up and testing an RTSP stream
We are now ready to start up an RTSP stream on the board and playing it on another computer on the local network. First start up rtsp-simple-server which will open a listener for an RTSP TCP stream on port 8554:
./rtsp-simple-server &
Then use gstreamer and rtspclientsink to push an RTSP stream to the server:
gst-launch-1.0 v4l2src device=/dev/video0 ! video/x-bayer,format=grbg,depth=8,width=1280,height=800 ! bayer2rgbneon ! queue ! vpuenc_h264 ! queue ! rtspclientsink location=rtsp://0.0.0.0:8554/phycam
The /phycam path can be replaced with whatever you’d prefer.
Note the vpuenc_h264 part of the pipeline. This is a plugin for gstreamer that allows us to use the hardware encoder to encode into h264 format. You may use vpuenc_hevc if you prefer h265/HEVC over h264.
You can display the stream on a separate machine using ffplay:
ffplay -rtsp_transport tcp rtsp://192.168.1.183:8554/phycam
TCP tunnelling with Nabto
Now we can initialize the configuration of tcp_tunnel_device. We will do this using the --demo-init option. Notice that --demo-init will make a basic configuration for testing purposes: Particularly the IAM configuration is not suited for production use. Consider using --init to make a configuration where you can set up IAM for your specific purposes after trying out the demo.
Once our configuration is up and working, then we just need to have the three programs running: rtsp-simple-server, gst-launch-1.0 and tcp_tunnel_device.
The more in-depth Nabto Edge RTSP guides for iOS and Android describe how to do the Nabto specific configuration, ie obtain device ID and provision a device in the Nabto Cloud backend with public key fingerprint. Also the RTSP guides describe how to install and use a video client app on iOS and Android.
So to begin creating the configuration, run the following command on your device:
tcp_tunnel_device --demo-init
First it will ask for your product and device ID, you can get these IDs from the Nabto Cloud Console. After this it will ask you to add some tunnel services. We will add an RTSP service. Recall that we set the port to 8554 and the endpoint to /phycam, let’s set the RTSP service settings accordingly, refer to the following block.
Next step is to add TCP tunnel services.
What type of service do you want to add?
[0]: continue
[1]: ssh
[2]: http
[3]: rtsp
Enter a valid number (default: 1) [0-3]: 3
Enter the port of your RTSP server (default: 8554) [0-65535]: 8554
Enter your RTSP endpoint (default: /video): /phycam
Added rtsp service on localhost port 8554 with metadata rtsp-path => /phycam
The program will then ask if you want to add another service, we can exit the flow here by entering 0. It will print out a fingerprint that you should enter into the Nabto Cloud Console.
The process of configuring the fingerprint in the Nabto Cloud Console is explained in detail in the general Tunnel Video example: It walks you through the entire process of configuring the application and accessing it through a mobile app. Note that since the guide is general, it mentions setting up a dummy Docker video feed - just ignore that part where you will use the RTSP service configured above.
You can see the full process to view a video feed from the phyCAM in this video:
Future considerations
Now that you have set up your board with Nabto, you may want to consider doing some of these following things in the future.
Startup script
You may want the board to automatically start up the RTSP server and Nabto when it boots. You can do this via a startup .sh script and systemd.
Building your own Android app
The repository for the Android video app you used in this guide is public and can be found at https://github.com/nabto/edge-android-demos as tunnelvideo. There is also a much simpler Android app example, edge-android-simpletunnel which very concisely shows how to set up a tunnel to work with Nabto enabled devices on Android. Note that simpletunnel uses only Java, however our Android libraries also support Kotlin which is recommended over Java for Android development.
Building your own iOS app
The repository for the iOS video app you used in this guide is public and can be found at https://github.com/nabto/edge-ios-rtsp.