Edge WebRTC Browser App Example
Important notice: This page is about Nabto Edge WebRTC. While still possible to use WebRTC with Nabto Edge, it is recommended for all new designs to use Nabto WebRTC; this is our dedicated platform for secure, high performance WebRTC signaling and ICE. Using Nabto Edge instead with WebRTC may be meaningful in some scenarios, specifically for adding WebRTC to existing Nabto Edge solutions. Please contact us if you consider using Nabto Edge WebRTC instead of the dedicated Nabto WebRTC platform.
In addition to the deployed demo website, the device example comes with a simple static web client that demonstrates how to use Nabto Edge WebRTC with as little unrelated noise as possible. The source can be found next to the device source here. This client is based on the javascript library and on using browserify to make the Node.js module usable in a browser.
To use the client, navigate to its root folder and install its dependencies using npm. Assuming you are in the repo root:
cd examples/webrtc-demo/web-client/
npm install
You can now open the index.html file from a browser by its absolute path:
file:///PATH/TO/REPO/ROOT/examples/webrtc-demo/web-client/index.html
or just open index.html from a terminal.
This web client is designed as a WebRTC sandbox you can use to test your device. For this reason, it mimics the underlying library features in the sense that CoAP invocations are not hidden away. Instead, you must make each CoAP invocation yourself aided by convenience buttons to fill in the CoAP request fields.
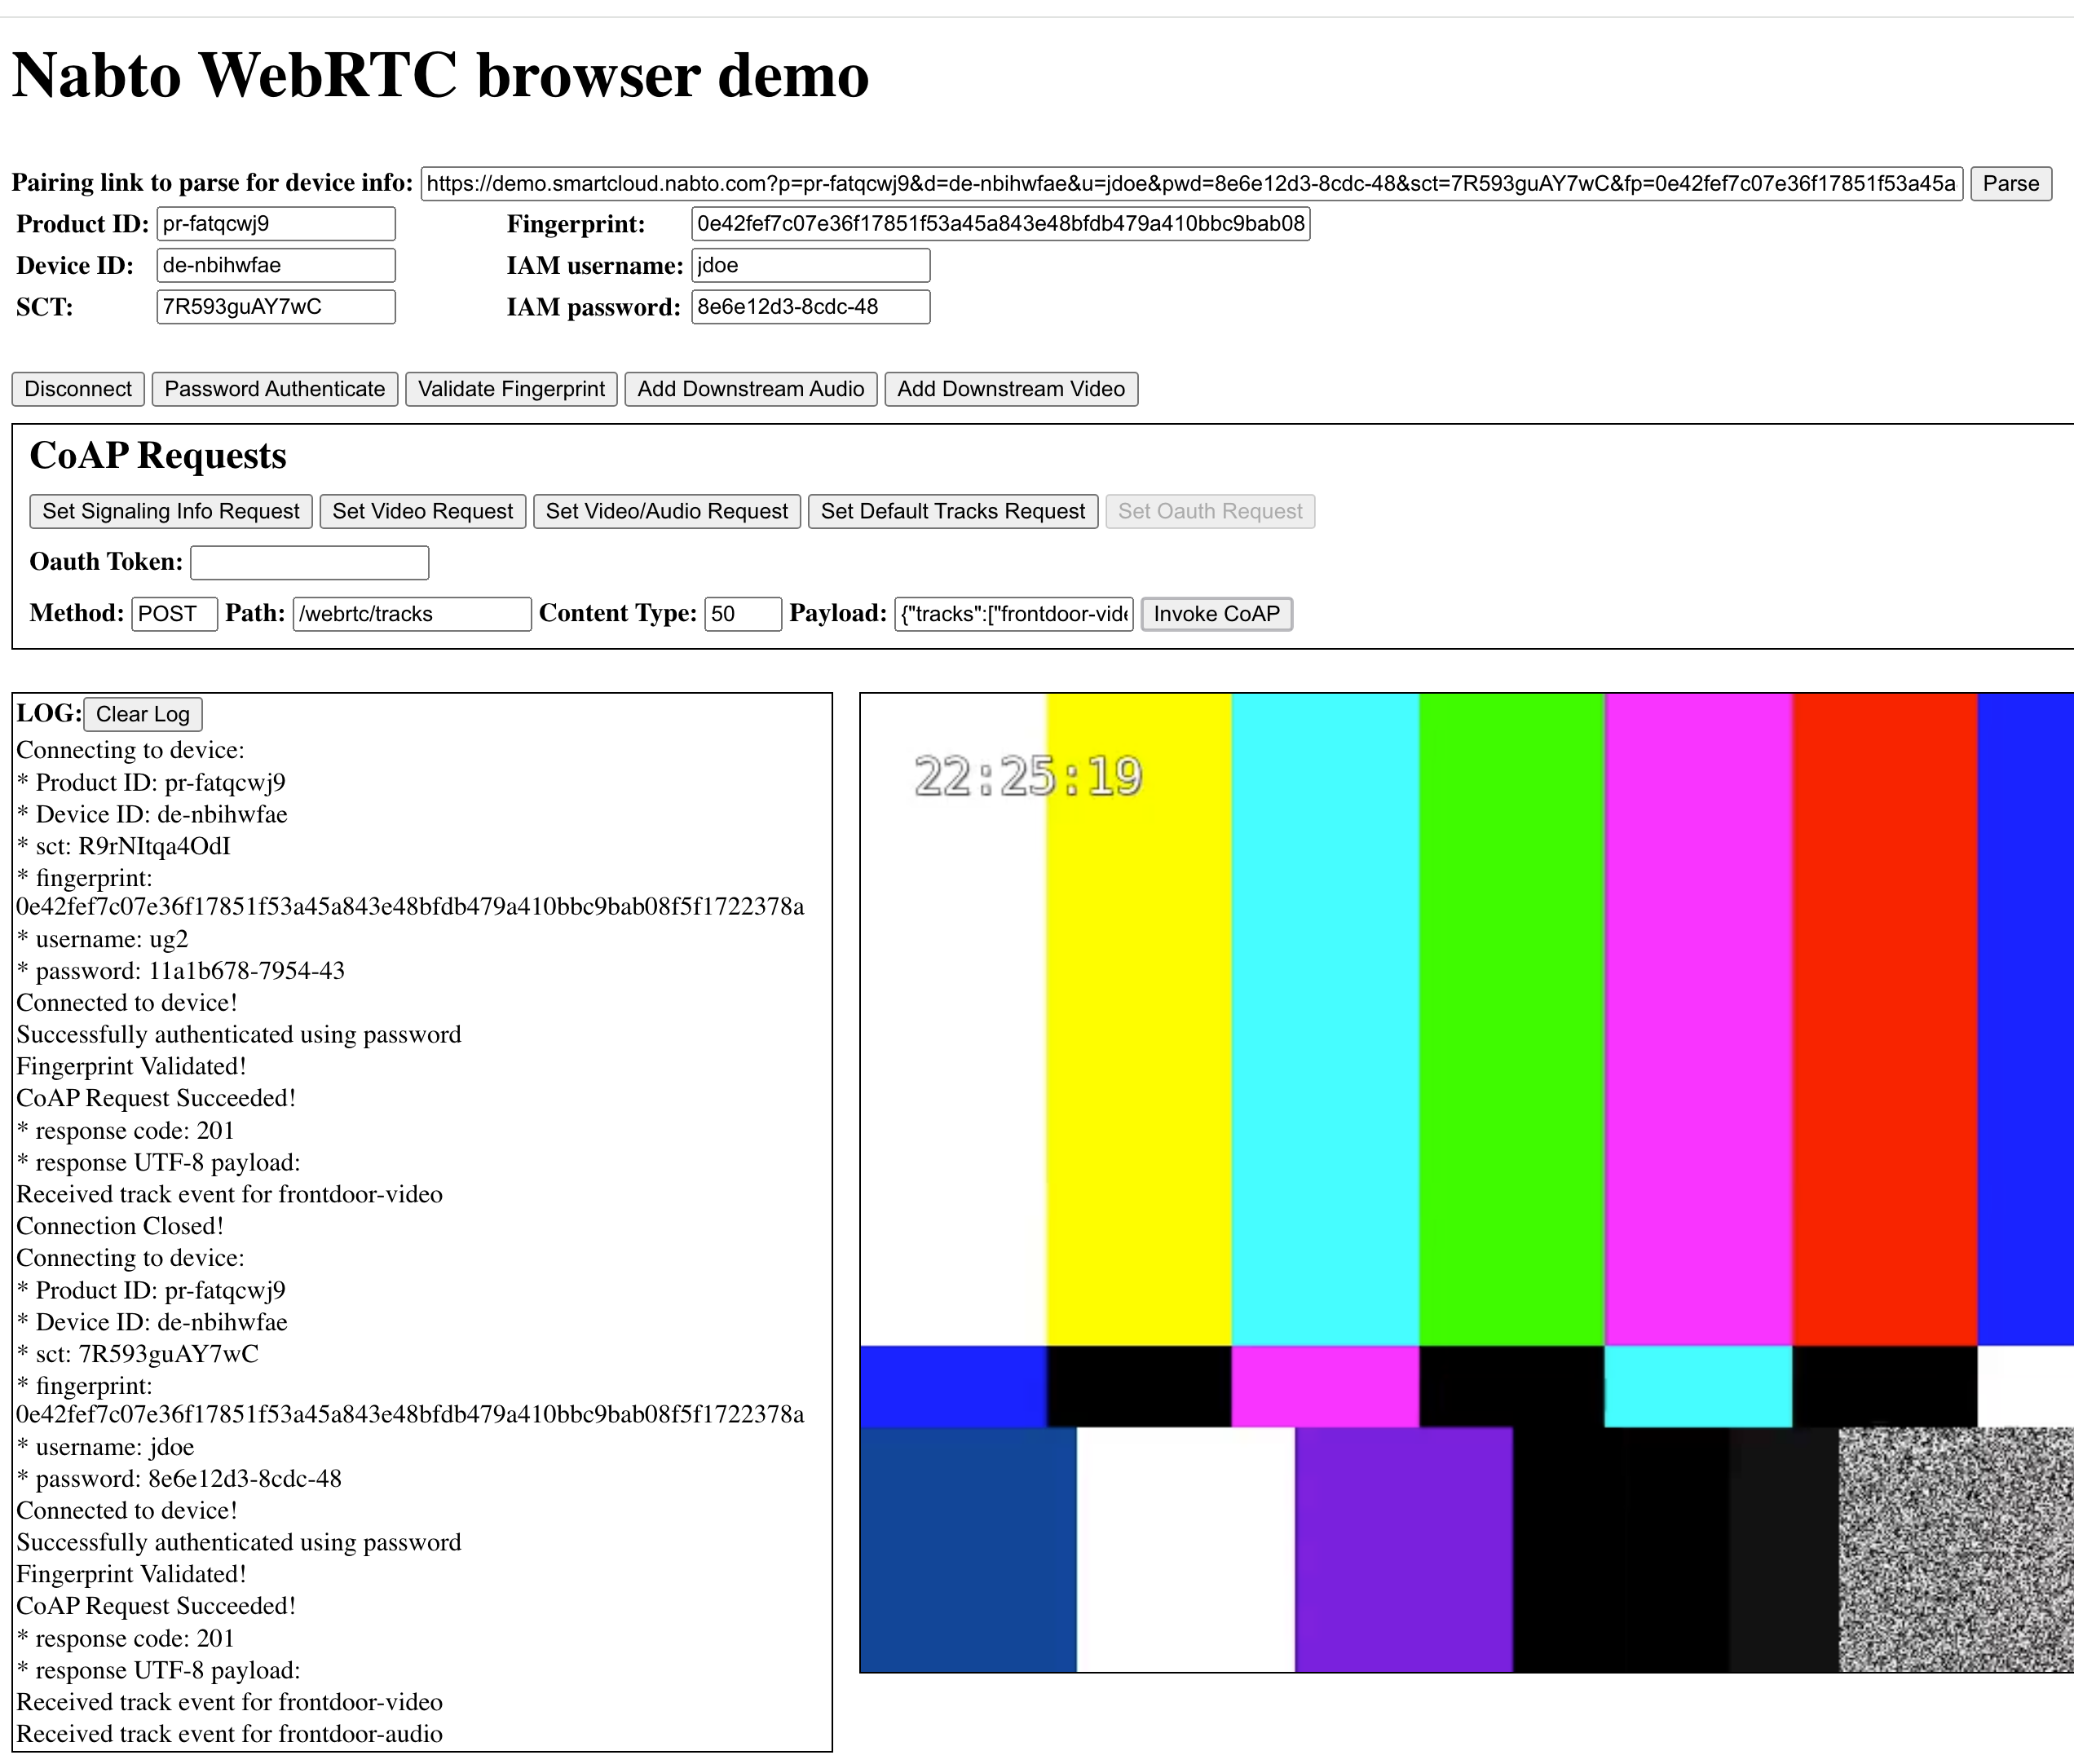
Pairing link and input fields in top section
If your device has not paired its initial user yet, you can copy its Initial user pairing link output from the demo device (camera) applications into the topmost field in the web client and click Parse. Then you do not have to enter the device information manually. If you already used the device in the demo, ie an administrator is already paired, you can use the demo site to create a new invite link to use for this simple demo page.
Note: If you reuse a link that was already used on the demo site, the demo will have removed the password from the IAM user in favor of OAuth login. This will cause password authenticate to fail!
Buttons in top section
Connect
Once the device info is entered into the fields (or parsed from the pairing link), click the Connect button to establish a WebRTC connection to the device.
Password Authenticate and Validate Fingerprint
The opened connection has not been authenticated by either side. You can see this if you invoke the Video Nabto Edge CoAP request (see below). This will ask the device to show you its video feed, however, since you are not authenticated, the device will return CoAP status 401 as shown in the Log box. On the other hand, the Signaling Info request will succeed as it is allowed by the device for unpaired users.
To authenticate that you are indeed talking to the right device use the Validate Fingerprint button. This will validate that the device possess a private key with a public key that matches the fingerprint entered above (or parsed from the pairing link).
You can now use the Password Authenticate button to authenticate yourself towards the device. After successful authentication, the Video CoAP request that required authentication can now be performed towards the device.
Add Upstream Audio/Video
You can add an upstream audio/video feed by pressing the respective buttons. This will enable your computer’s microphone or camera, respectively and involve a browser confirmation pop-up. To view the upstream audio/video, see the “Sink” examples in the Simulated Video Source guide.
Note: Upstream video and audio currently only works when adding the feed to an existing downstream feed. If the device has not already added its downstream feed, adding an upstream feed will fail. The upstream feeds are currently hardcoded to use the example track IDs (frontdoor-video and frontdoor-audio). Also note that upstream video in the edge-device-webrtc demo application only works when using a downstream RTP feed (not RTSP).
CoAP requests
The buttons in this section populates the CoAP request fields with some preset values. After clicking a button to select a preset request configuration, you must click Invoke CoAP to execute the request towards the device you are currently connected to. Note that some requests require you to be authenticated, see above.
Note: As stated above, the request buttons only populates the fields in your browser client with preset data - you must click the Invoke CoAP button to actually interact with the device and send a request!
Signaling Info Request
A public request, ie one that does not require the user to be authenticated towards the device. Retrieves metadata used when establishing a WebRTC connection.
Video Request
Request a video feed from the device. The default track names match the edge-device-webrtc defaults. When invoking this request (on an opened, authenticated connection), the video feed should be seen immediately in the right side of the view.
Video/Audio Request
Request a combined video/audio feed from the device.
Default Tracks Request
The name of the default tracks on the device. You can pass the received information in the payload of the Video request.
OAuth Request
If you have access to a valid OAuth token, you can authenticate using OAuth instead of password by pasting the token it into the site and make an OAuth CoAP request to the device. Specify your token in the OAuth input field and invoke the request to pass the token to the device.