Embedded Applications
This document describes how to build a Nabto Edge Embedded SDK application. It includes some example applications to get started and use as inspiration.
Focus is on the actual application and configuration necessary to start an application - for information on how to integrate to a new platform, see the integration guide.
Creating device configuration in the Nabto Cloud Console
First, log on to the Nabto Cloud Console. Create a free account if you don’t already have one. Your account must also be in an Organization. Organizations are used to enable multiple users access to shared products and devices. If you are not part of an Organization, the console will guide you to create one for yourself, or you can be invited into an existing Organization.
Devices and products
A Nabto Edge product is a logical grouping of devices that makes sense in your business domain. You can have a single Nabto Edge product across all your products. Or e.g. create a product for each product line - or in other ways that make sense.
Create a product
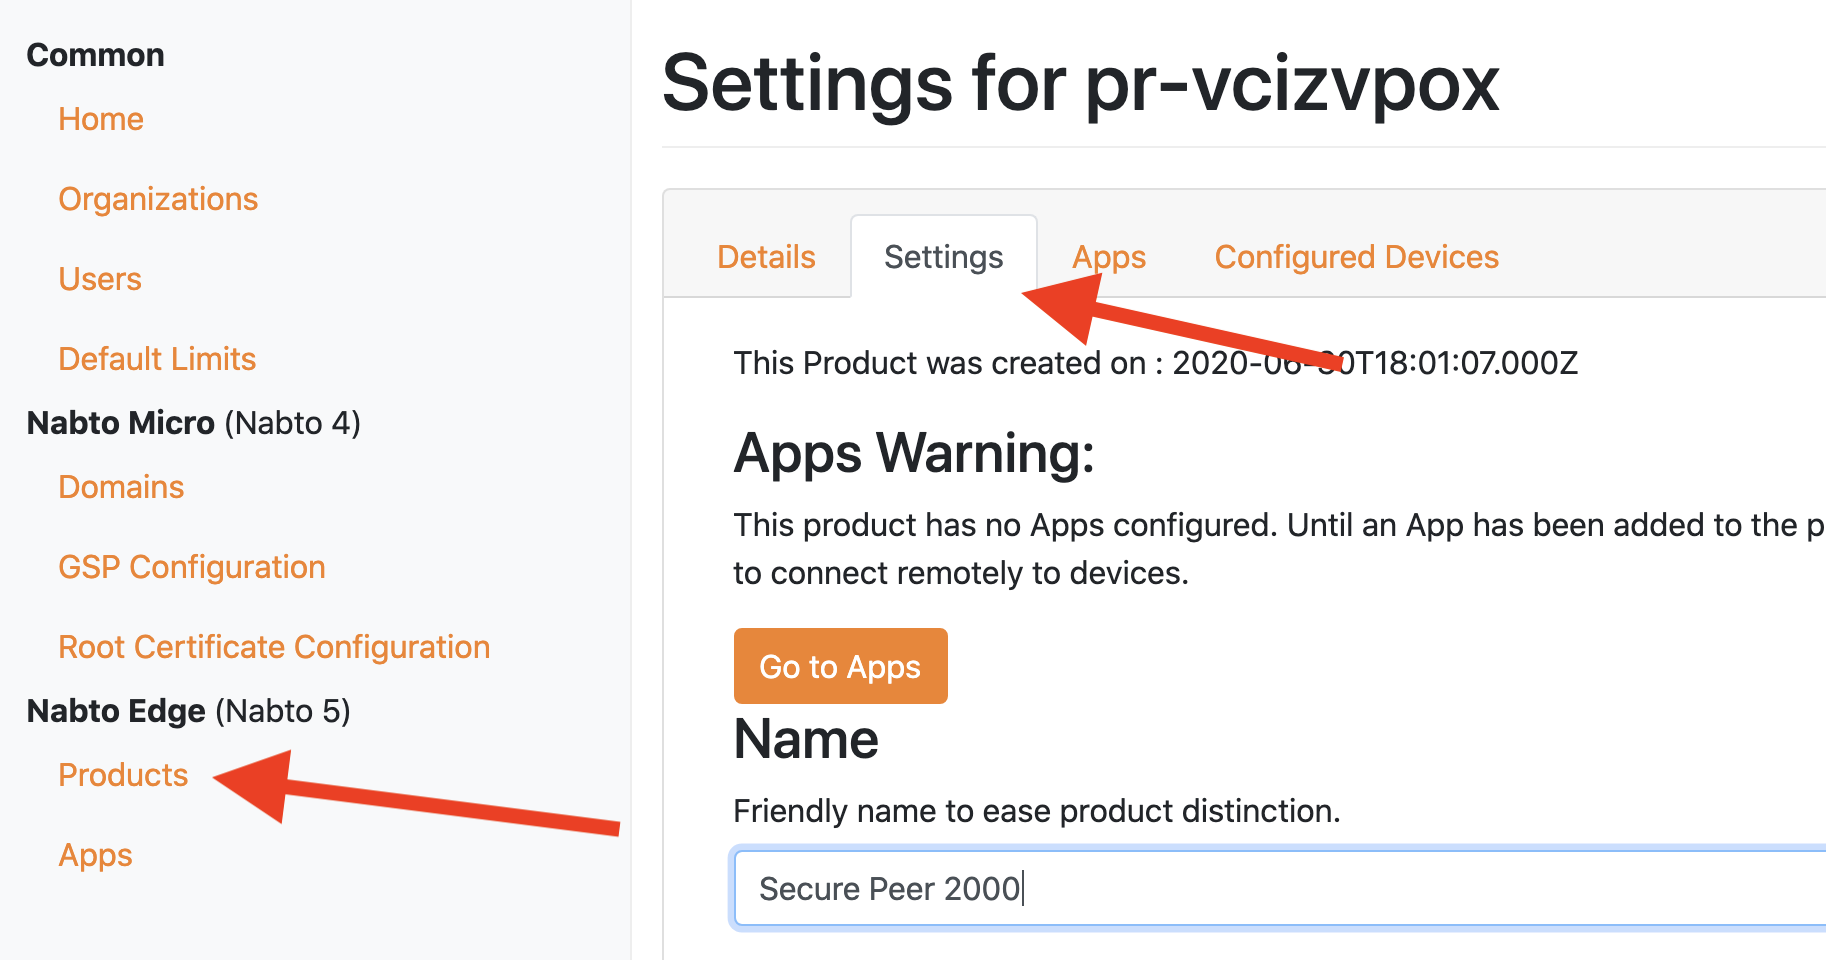
In the menu on the left, select Products. Create a new product and set an optional friendly display name on the Settings tab.

Create a device
In the Products overview, click the “devices” link in the row of your new product. Click “Create new device”. Later when you have generated a keypair, you must specifiy the public key fingerprint on the device settings page. For bulk operations, there is webservice REST API support for this, contact support for more information.
On the device settings page, you can see the necessary configuration that must later be passed to the Nabto Embedded SDK:
{
  "ProductId":"pr-abcdefgh",
  "DeviceId":"de-bcdefghi",
}
Using the Configuration for examples
Following our building guide for the Nabto Edge Embedded SDK produces example executables. The simple_... device examples all takes the Product ID and the Device ID created above as its first two arguments:
./bin/simple_coap_device <product-id> <device-id>
Running an example for the first time generates an encryption key for the device and saves it in the device.key file. This encryption key will be reused by any of the simple examples started from the same location. These examples print the public key fingerprint. This fingerprint is what must be configured for your device in the Nabto Cloud Console as stated above.
Note: All simple examples use the hardcoded SCT demosct. This means clients connecting to the device through the Basestation does not need to provide a server key. The use of a single static string as an SCT is ONLY for demonstration purposes. SCTs should be created using nabto_device_create_server_connect_token.
Configuring Embedded Device Applications
In the embedded device application, the configuration from the device settings page in the console must be passed to the Nabto Embedded SDK. This is done using the Device Context functions:
    NabtoDevice* device = nabto_device_new();
    NabtoDeviceError ec = nabto_device_set_product_id(device, productId);
    NabtoDeviceError ec = nabto_device_set_device_id(device, deviceId);
Also, a private key is needed on the device. Either this can be created on the device using nabto_device_create_private_key or it can be created outside the application using e.g. openssl and somehow passed to the application:
openssl ecparam -genkey -name prime256v1 -out key.pem
The key is input to the Nabto Edge SDK using nabto_device_set_private_key:
ec = nabto_device_set_private_key(device, privateKey);
The public key fingerprint can be then be retrieved (and input to the console during development):
    ec = nabto_device_get_device_fingerprint(device, &fp);
    if (ec != NABTO_DEVICE_EC_OK) {
        return false;
    }

    printf("Device: %s.%s with fingerprint: [%s]\n", productId, deviceId, fp);
    nabto_device_string_free(fp);
Once the device has been initialized, it can listen for incoming CoAP requests, incoming streams or tunnel requests. Examples of some of these can be found in this section - start with the Hello, World CoAP demo.
It is highly recommended to read about futures in Nabto Edge to understand the CoAP, Stream and Tunnel APIs: Basically the mechanism is a way to have a uniform API that works both synchronously and asynchronously depending on how the future is used. This is described in detail in the futures guide.
